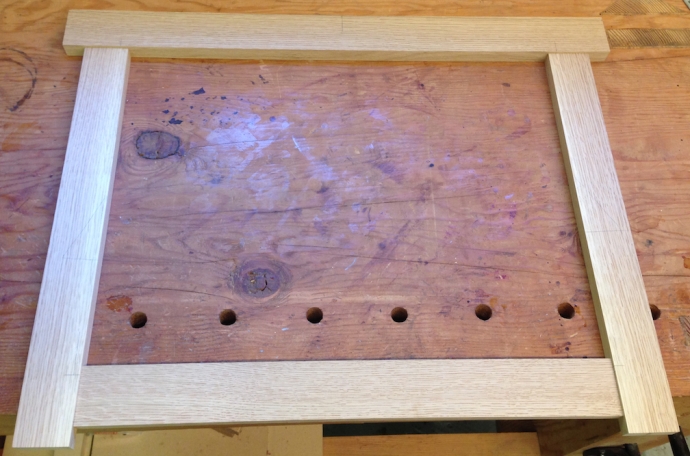
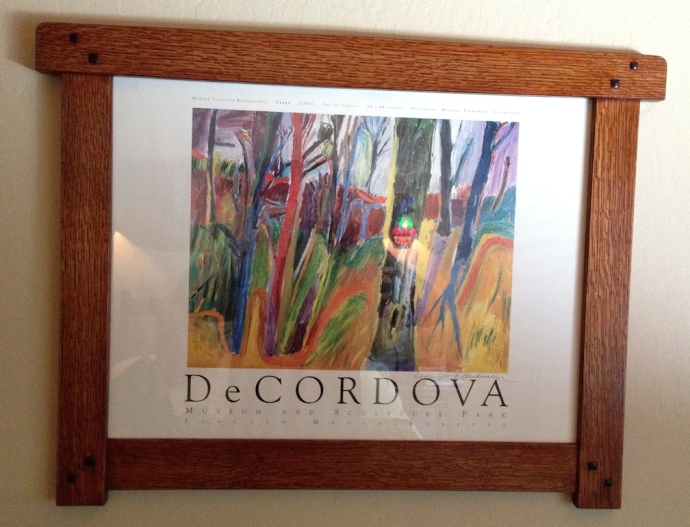
I’m still working on the Greene & Greene cabinet, but I made a side trip to build a Mission-style frame for the guest room. The size and design were constrained by the left over white oak I had on and and the picture my wife wanted to display. The frame is mortise-and-tenoned together, with the top being 7/8″ thick, the sides 3/4″ and the bottom rail 5/8″ thick.
Once the frame was roughed in, I shaped a subtle peak in the top (it tapers off 1/4″ to each side) and rounded the top corners. I chamfered the edges and glued it up.
(there was an intervening trip to the ER for some stitches in between, but I won’t bore you with that).
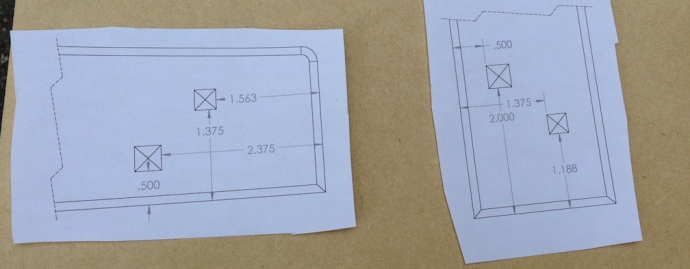
Meanwhile, the square punches my wife got me for Father’s day arrived, and I immediately putt them to use. Since the frame was already sanded and glued up, I didn’t want to layout the locations for the ebony plugs on the wood. Instead I printed out full scale templates, and made patterns.
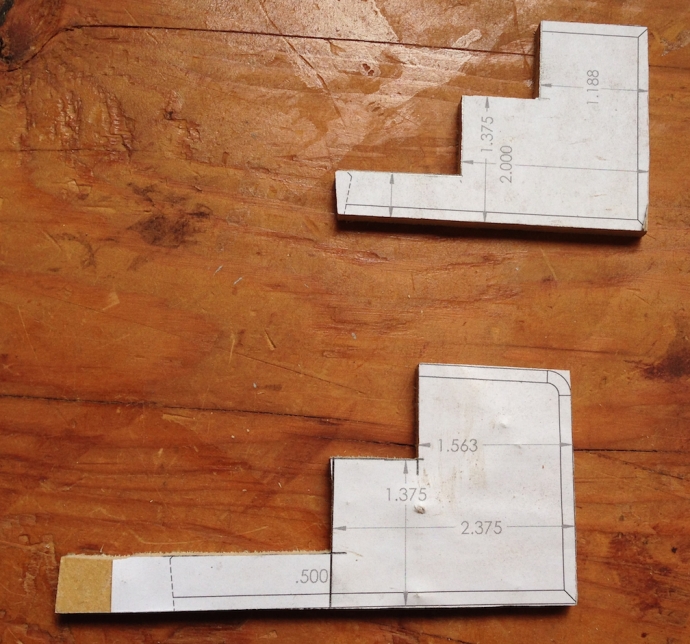
I glued the printouts to some 1/4″ MDF, and cut them out.
This made it pretty easy to position the square punch where it belonged. I just flipped the pattern over to the the left side of the frame.
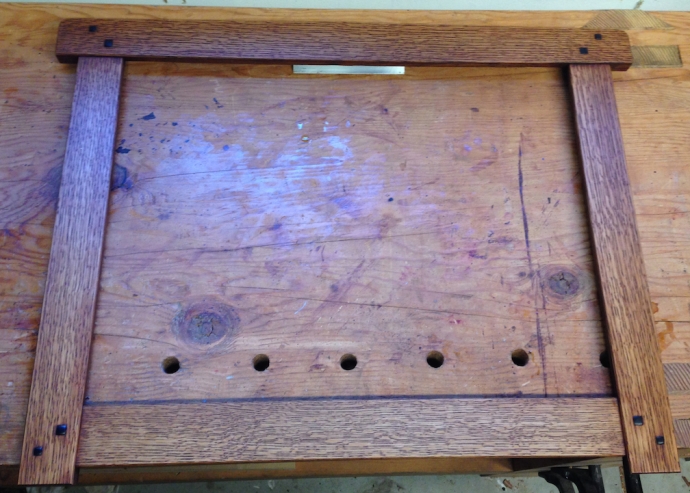
Then I made a batch of ebony plugs (I’m getting this down to a science now) and glued them in.
I used the same finishing schedule as the cabinet and sconces in the room — Brown Mahogany TransTint dye, Candlelite gel stain, linseed oil, garnet shellac and dark brown wax. This picture shows just the dye and stain coats applied so far.
I wrapped up the project this morning with a couple of coats of shellac, a quick rub with 0000 steel wool and brown wax. I used “single strength” glass, which they cut slightly oversize (grrrr!) and I had to cut 1/8″ off the edge. If you’ve ever cut glass you know that’s not a great situation, but I pulled it off.
In retrospect, I should have made the rebate deeper than 3/8″ or used thinner backer material because there wasn’t much roll for brads to hold these parts in the frame. It looks great in the room.
Apparently I need to hurry up and finish the Thorsen cabinet so I can make a bookcase for the room next.



Nice!
Hi Joe,
two things – 1 You can’t mention stitches and not tell why
2 – what do you think of the square punches? Did you get the drill bit for them also?
Hi Ralph,
On #2, I like the square hole punches. I got the corresponding brad point drill bits from Lee Valley too. They do just what they claim to do. A first trial on White Oak showed that I had to hit them a little harder to drive them in that I’d expected — but it’s Oak after all. It’s pretty tough stuff, I broke two drill bits drilling pilot holes for #4 screws on the cabinet I made. With the drill bits it was about $200 for the set, and I’m pleased with them. I’ll give a full report once I’ve used them a bit more.
On #1, it was a sad day at the router table. I was using it to cut a stopped groove for the glass rebate and it yanked the part out of my hand. It’s embarrassing, I try to work pretty carefully, and this happened in a split second of inattention. As a result I spent the next 5 hours progressing from the local “urgent care” office to the emergency room at the hospital, and finally to a plastic surgeon who ultimately did the honors. That was *so* not fun.
Hi Joe,
hope you heal well and fast.